5 Ways to Makeover Your Wavebox with Custom Colours and Icons
We've seen many blog posts and tweets by our users, describing how they've customised Wavebox to make it look super-swish.
So, for those of you who love to customise, but haven't had time to do it yet, here are 5 easy ways to update your Wavebox window and make it your own:
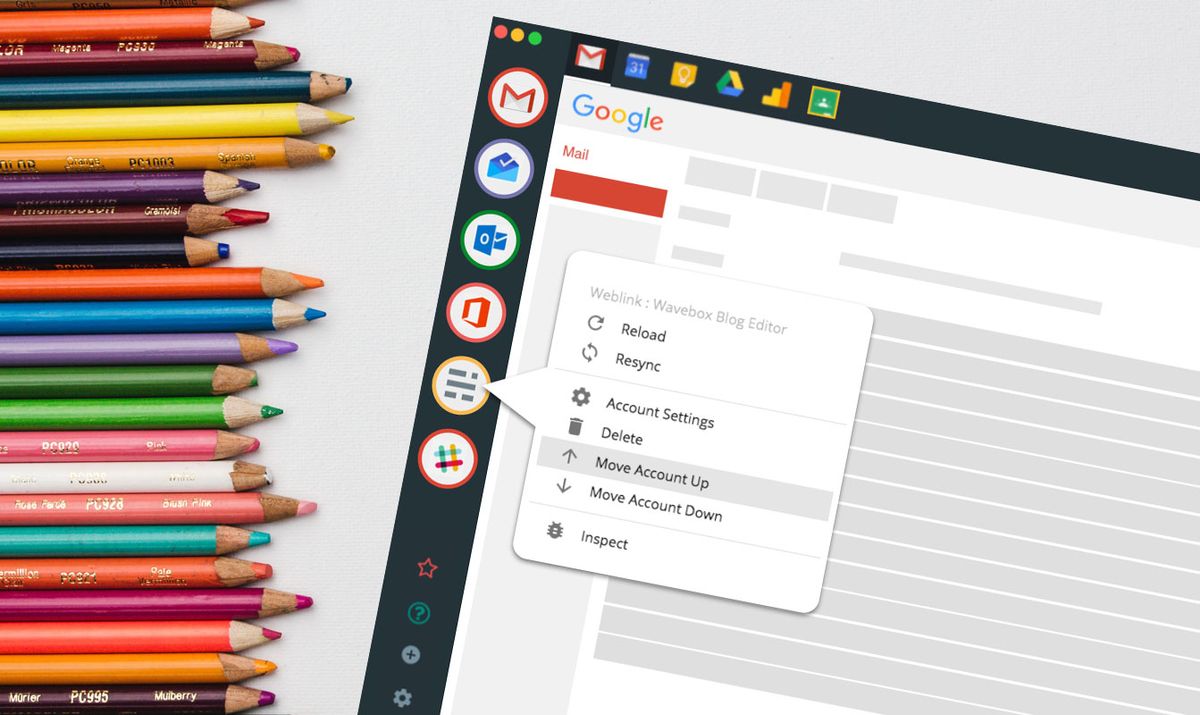
1.Customise your Account Icons & Badges
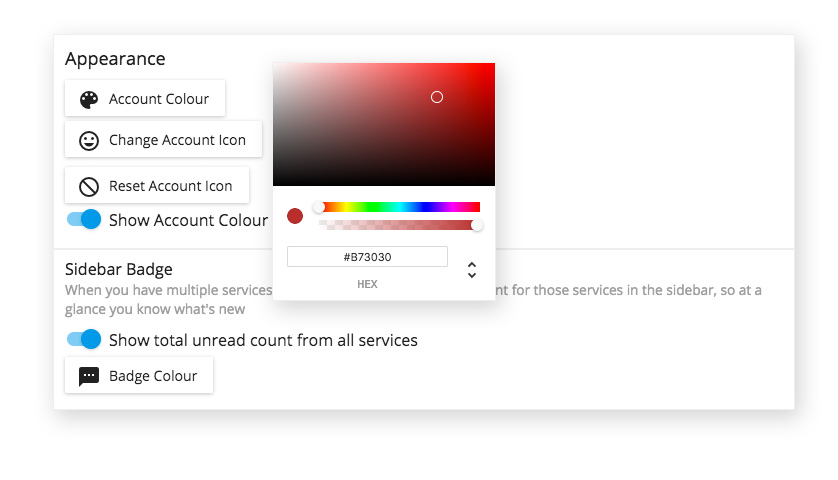
When you add an account we will automatically grab a logo for you, which is then placed in the left sidebar. You can replace this with any uploaded image by right-clicking on the icon and selecting 'Account Settings'. From there look for 'Appearance' heading where you can 'Change your Account Icon'. You can also reset the following:
- Account Colour: The border around your icon.
- Account Badge Colour: The colour of your 'Unread' badges (circles with either a number or full stop in them).
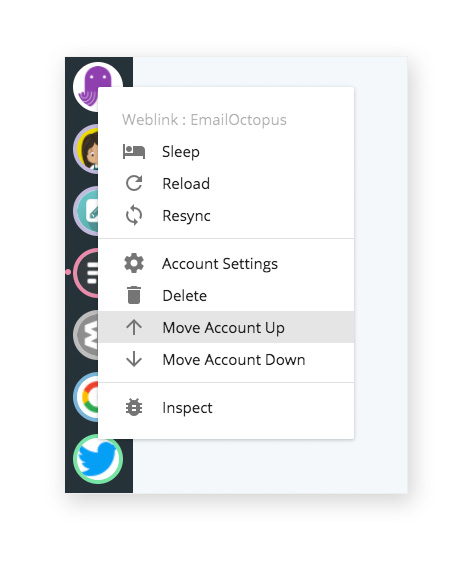
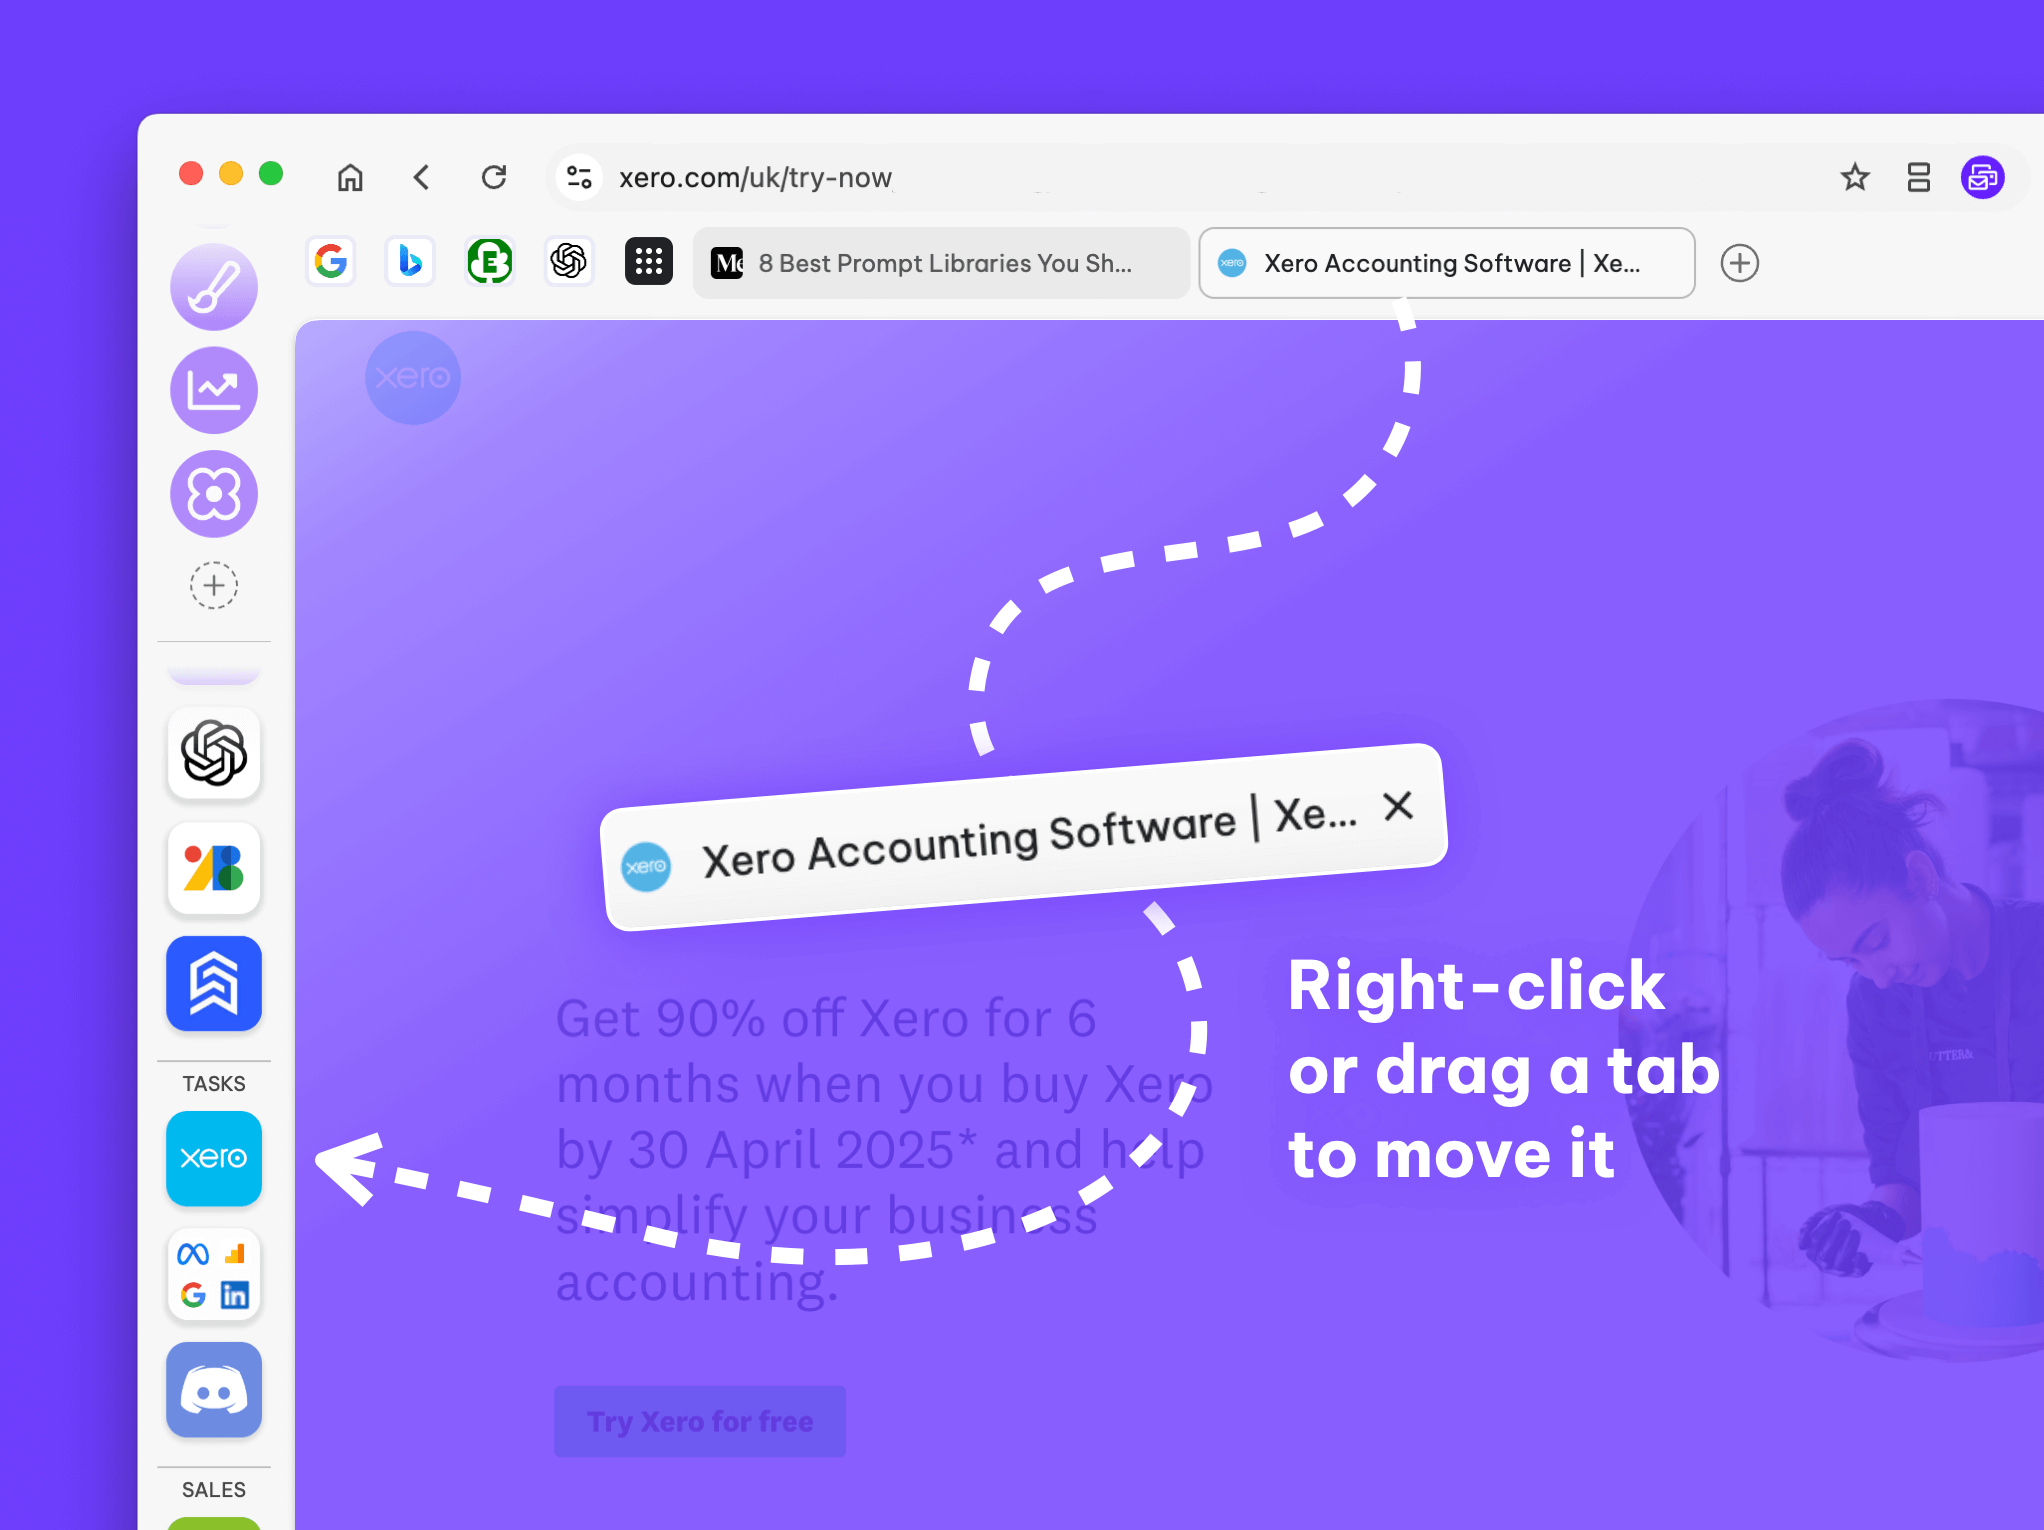
2. Re-order your Accounts
After adding your accounts you may want to change the order. This is easily achieved by right-clicking on any account icon, then selecting 'Move Up' or 'Move Down' from the pop-up window. (Additional grouping options are coming soon to Wavebox.)
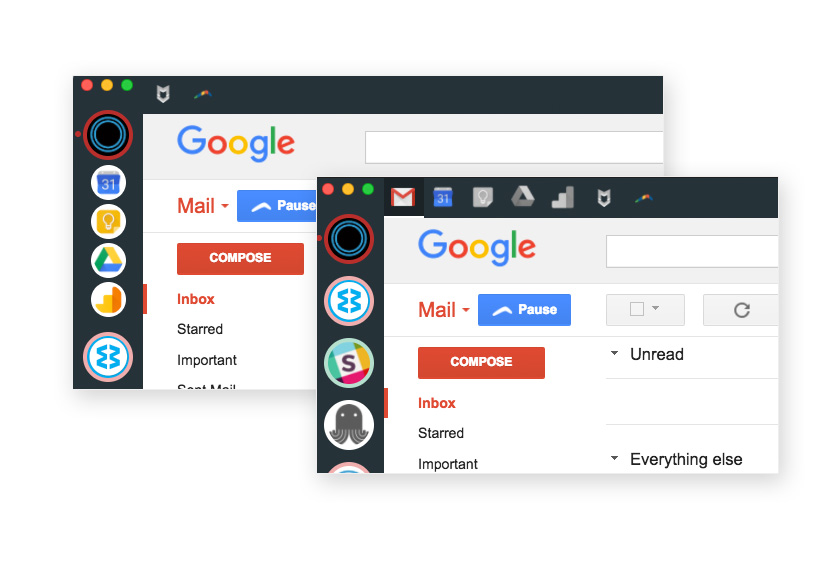
3. Reposition your Services Icons
If you have added services to your accounts e.g. Google Calendar, Drive, Keep, YouTube etc. you can choose where to place your services icons. The options are top-left, top-right and underneath the Account icons on the left. This is done on an account level, so right-click on your account icon, then select 'Account Settings' from the pop-up. Next look out for the 'Account:Services' box under 'Account: Appearance'. There are two options here; Left Sidebar and Top Toolbar. In the left sidebar option you can also choose to hide services when the account isn't in use, and from Top Toolbar you can choose to display them on the left or the right. You can also re-order your services icons by right-clicking on them, then moving them left/right (Top Toolbar) or up/down) Left Sidebar.
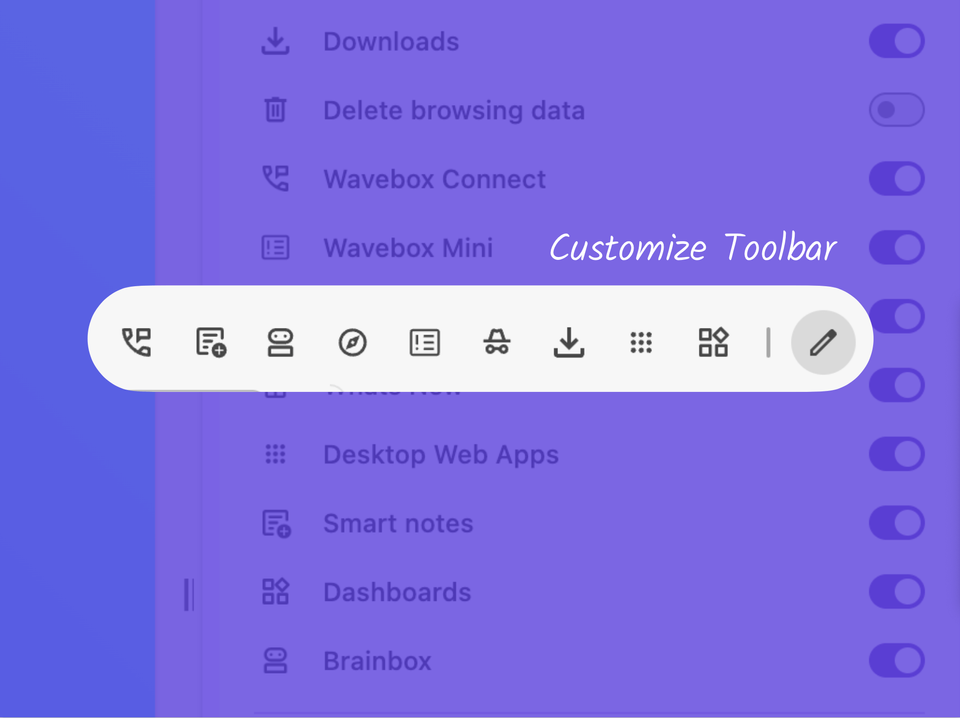
4. Move your Extensions Icons
When you add extensions like Boomerang and Mixmax, you can choose to have them displayed in the top toolbar, either top-left or top-right. Select by clicking on the 'Settings' cog, then the blue EXTENSIONS tab. You'll see a 'Show Extensions Toolbar' toggle. Switch in on so that it's blue, then select either 'Left' or 'Right' from the dropdown menu.
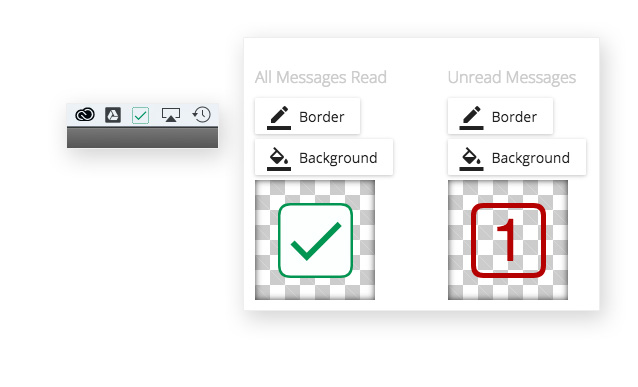
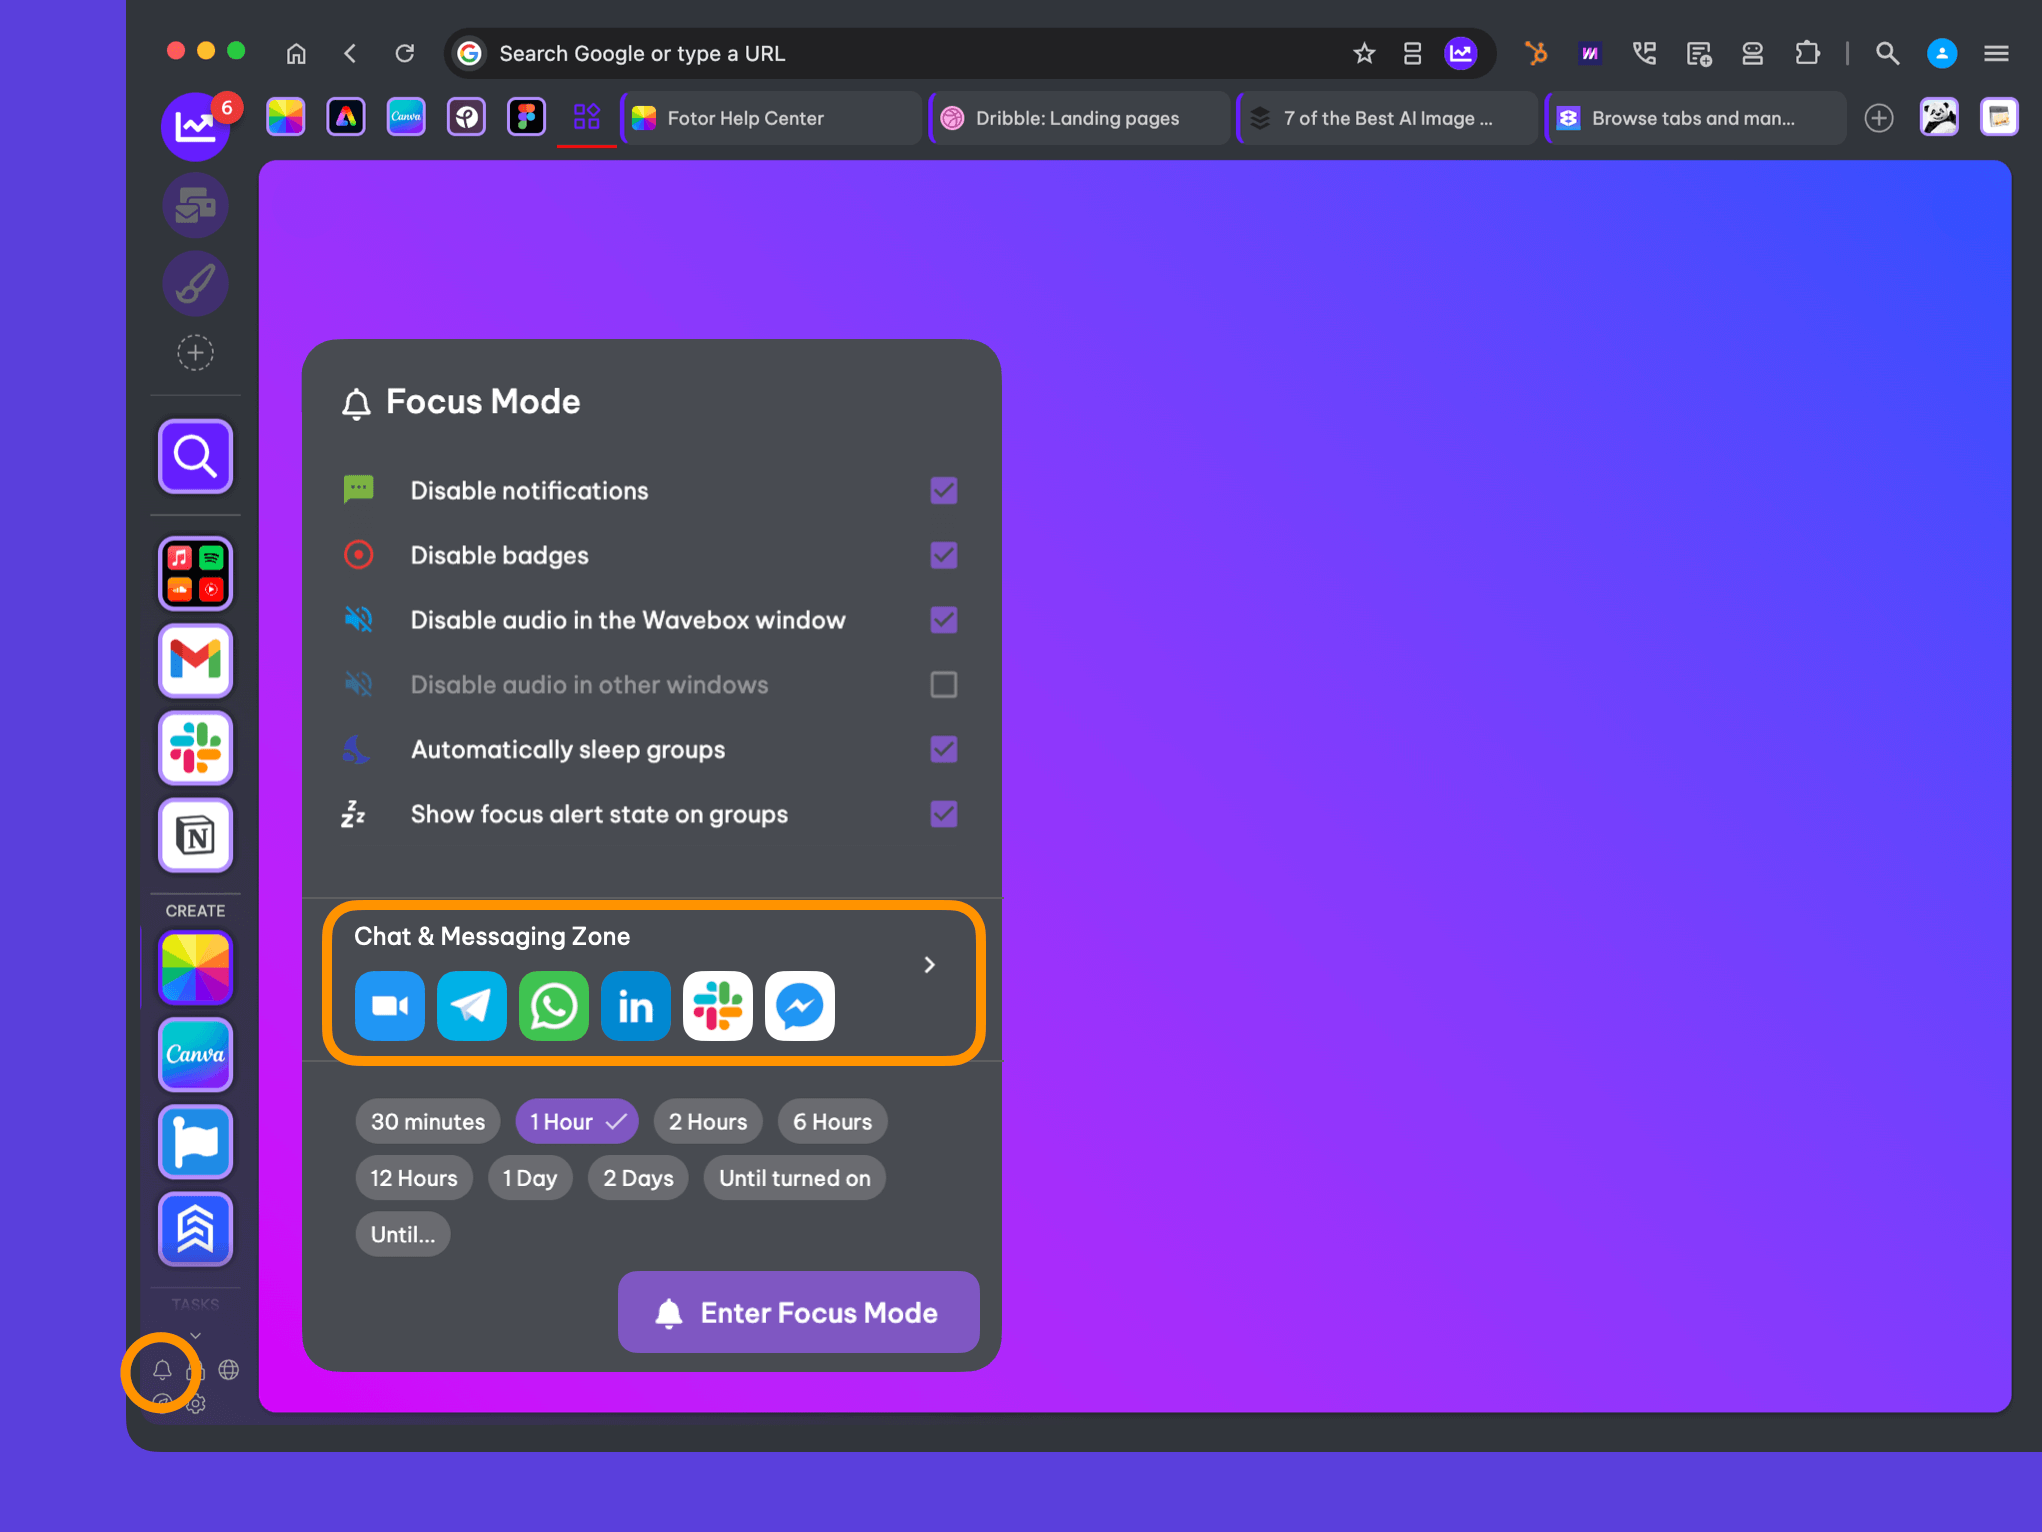
5. Customise your Tray Icon
You can stay up-to-date when you're not in Wavebox by choosing to show a notification icon in your machine's menu bar. There are a number of customisation options for this icon including the colour of the icon's border and unread messages count. When in Wavebox, click on the 'Settings' cog, and under the GENERAL tab, look for 'Menu Bar' on the right - you can make your changes there.
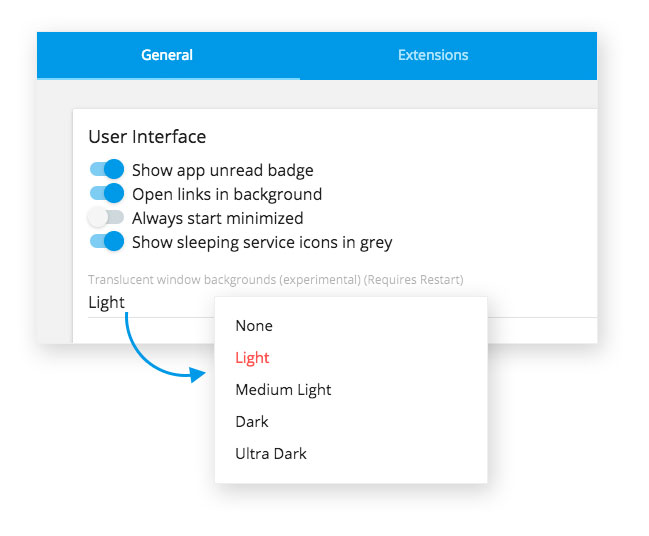
5. Translucent Window Background
A very recent addition, this option was suggested by a Waveboxer. You can choose to set the Wavebox window to be semi-transparent so that the background can be seen through the window. You can choose between light and dark settings. When in Wavebox, click on the 'Settings' cog, and under the GENERAL tab, look for 'User Interface' top-left, then 'Translucent window backgrounds'. You can select from the dorpdown menu e.g. Light, Medium Light etc, then restart your Wavebox to see the changes.
That's all for now. More customisation options are currently in development at the moment and please get in touch if you have any requests or suggestions - we'd love to hear from you.
Photo by Kelli Tungayon Unsplash